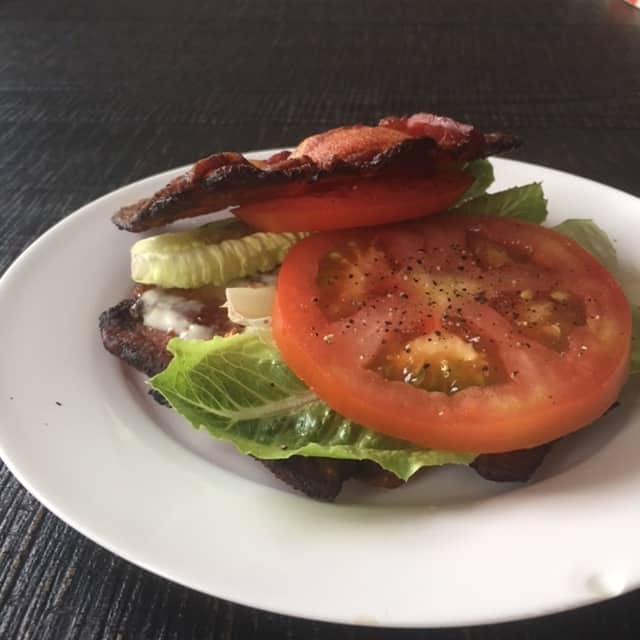

Ok, so not EVERYONE on keto eats bacon and eggs, but it can be a perk!
Sign up for my mailing list to get free access to 2 keto meal plans with recipes!
[et_bloom_locked optin_id=optin_4]
1500 Calorie (ish) Keto-Pescatarian Meal Plan
MEAL #1
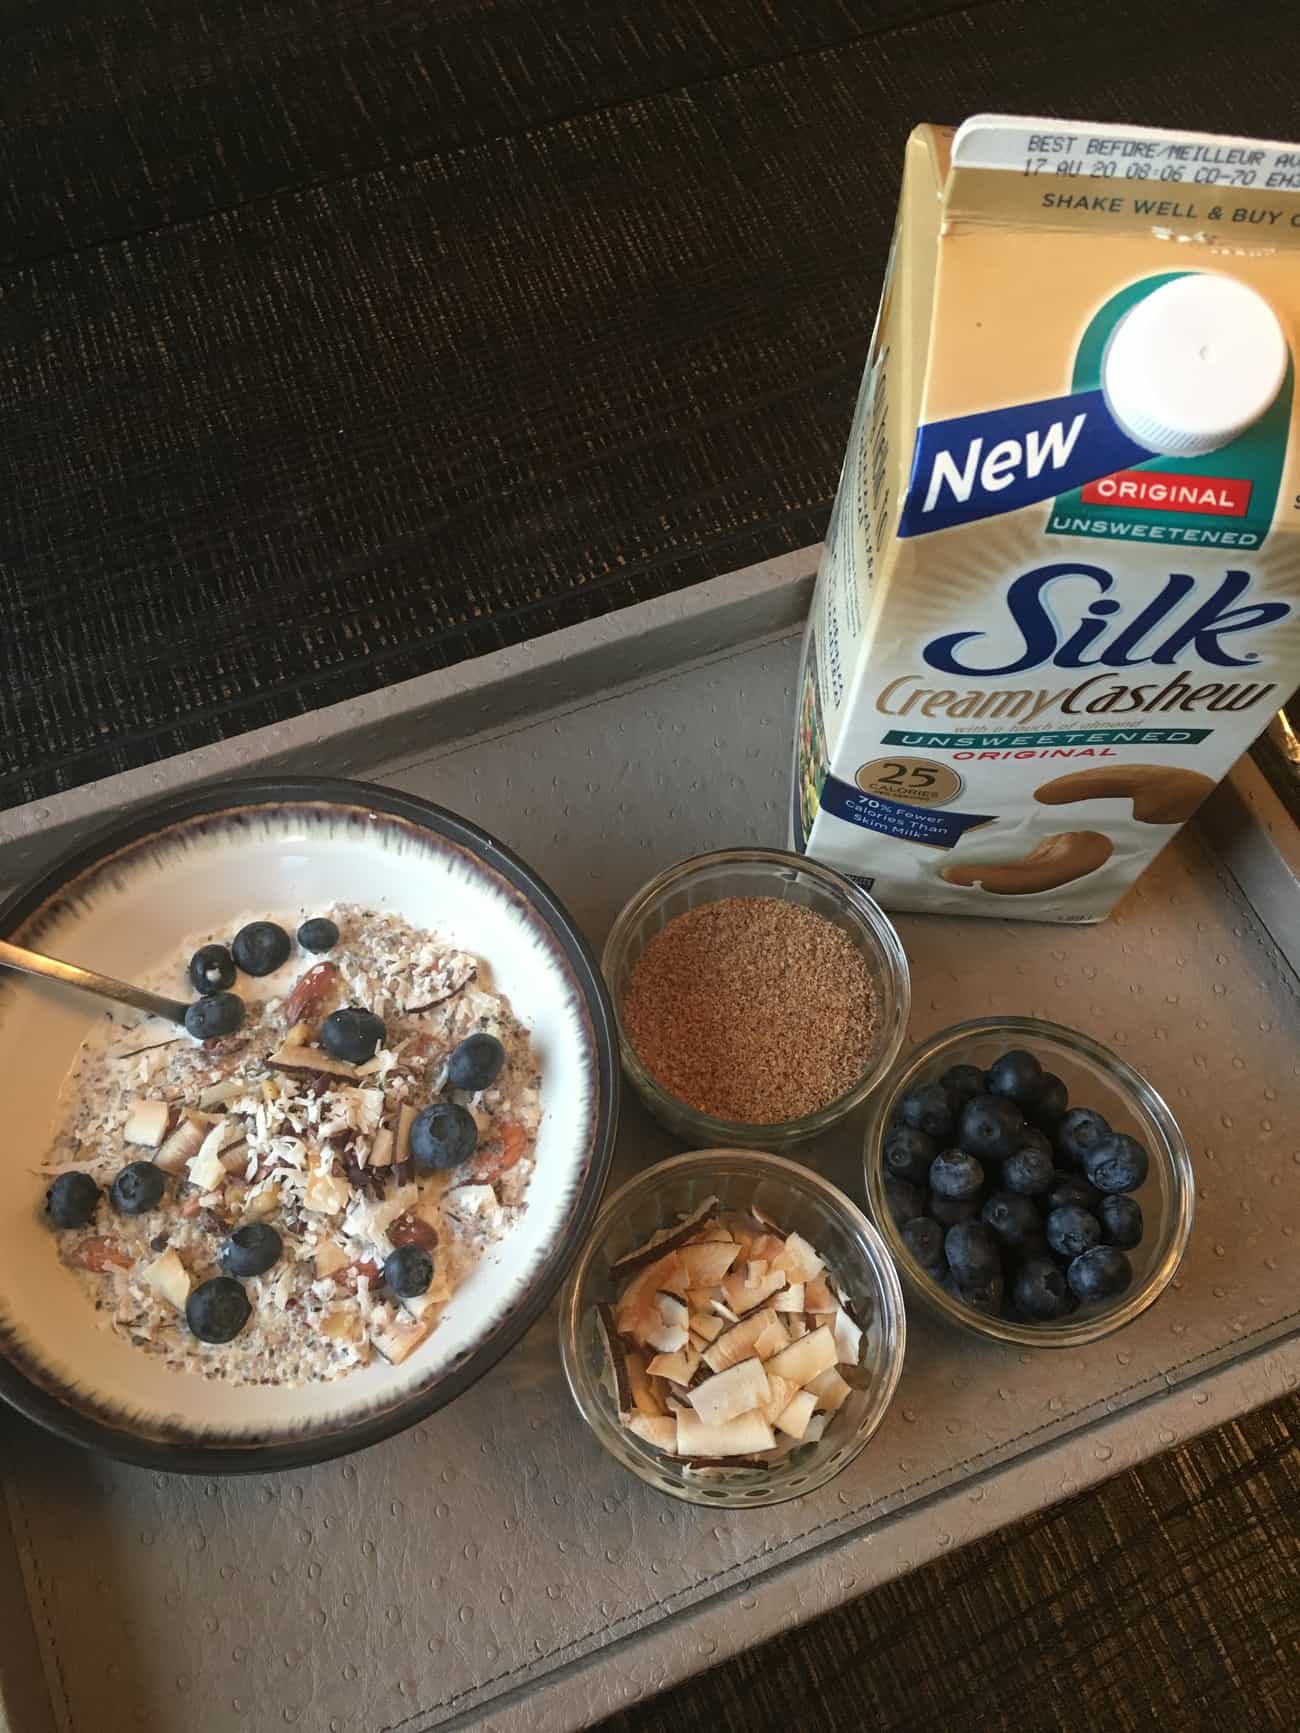
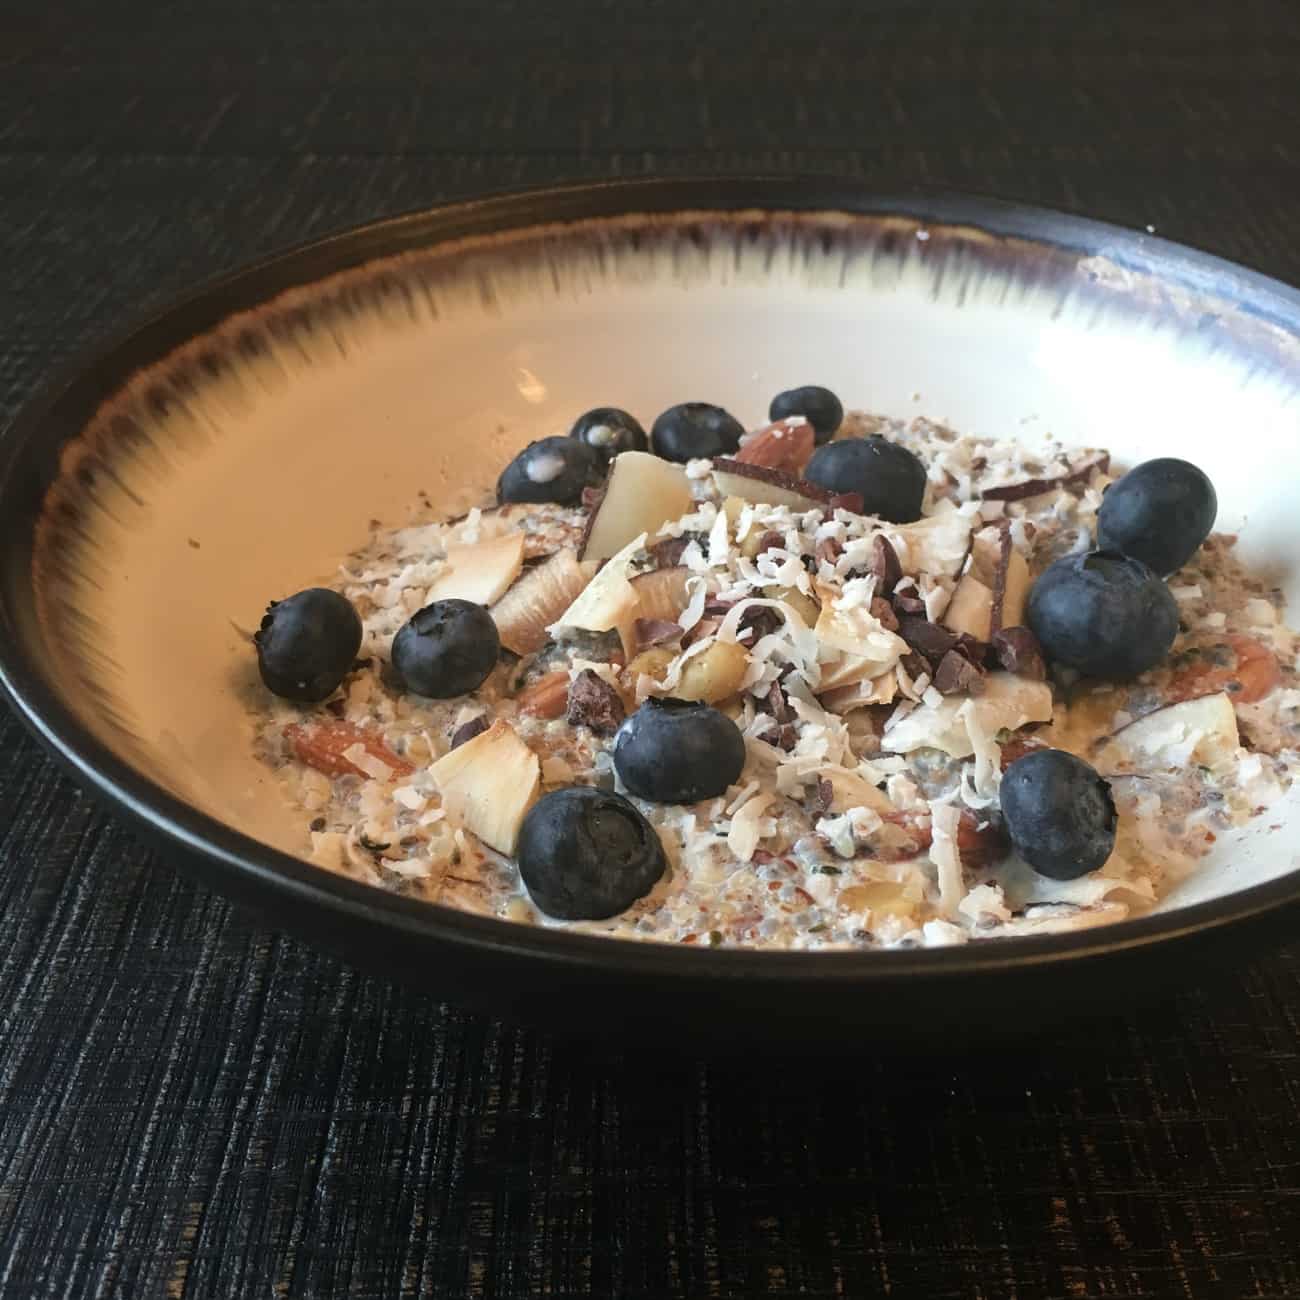
Keto Cereal (Click here for keto cereal recipe)
1/4 cup mixed berries
2 tbsp coconut cream
Top cereal with berries of choice
Use coconut cream in coffee/tea
*Scoop thick cream off of a can of full-fat coconut milk (Thai brand)
MEAL #2
3 whole large eggs
50 g smoked salmon
1 tbsp olive oil or mayo
2 cups spring mix
6 cherry tomatoes
Optional veggies
Make eggs/salmon into an omelet/scramble/egg muffins. Use oil to dress salad or saute egg/veggies. Add lemon/lime/vinegar to dressing!
Try topping with salsa/hot sauce for more flavor and variety, trace carbs.
MEAL #3
5 oz Firm Tofu
50 g avocado
2 cups zucchini
Optional veggies
Grill or pan fry tofu with seasonings of your choice. Make zucchini into noodles and create a sauce by blending avocado/lemon/spices, so yummy and great hot or cold!
MEAL #4
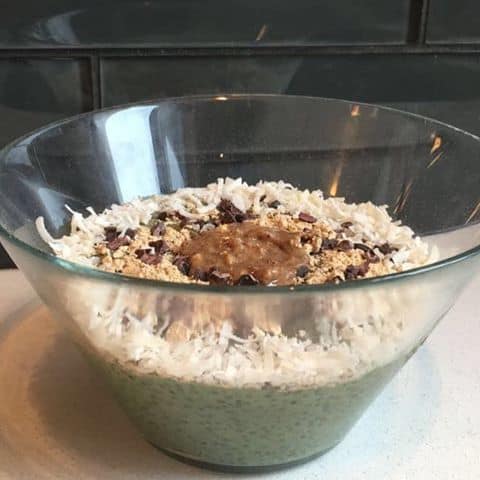
3 tbsp chia seeds
1 cup sf cashew milk
Make into a chia pudding for dessert. Mix together with stevia/cinnamon/vanilla/cocoa (your choice!) and let sit in fridge to thicken 2-3 hours or overnight.
Devour!
Optional: 10 g net carb fromadditional veggies of your choice

1500 (ish) Calorie Keto Meal Plan
MEAL #1
1 whole large egg
2 slices cooked bacon
2 cups spring mix
1 tbsp coconut oil
Make bacon/eggs into omelet/scramble/egg muffins or hard boil/cook in advance. Use oil for dressing or blend into a.m. coffee!
MEAL #2
3 oz boneless skinless chicken thigh
100 g avocado
1 tbsp olive oil
15 g sunflower seeds
200 g romaine lettuce
1/2 cup cucumber
1 oz red onion
Salad! Mix together with spices, vinegar or lemon, etc. for a super satisfying fat-fueled salad. Avocado can be blended with vinegar/citrus to make a creamy, dairy-free dressing.
*Protein is cooked measurements
MEAL #3
3 oz extra lean ground beef
1 cup spaghetti squash
1 tbsp olive or coconut oil
Make into meatballs/patties or pan fry with squash/spices for “meat sauce.” Add salsa, hot sauce, etc.
MEAL #4
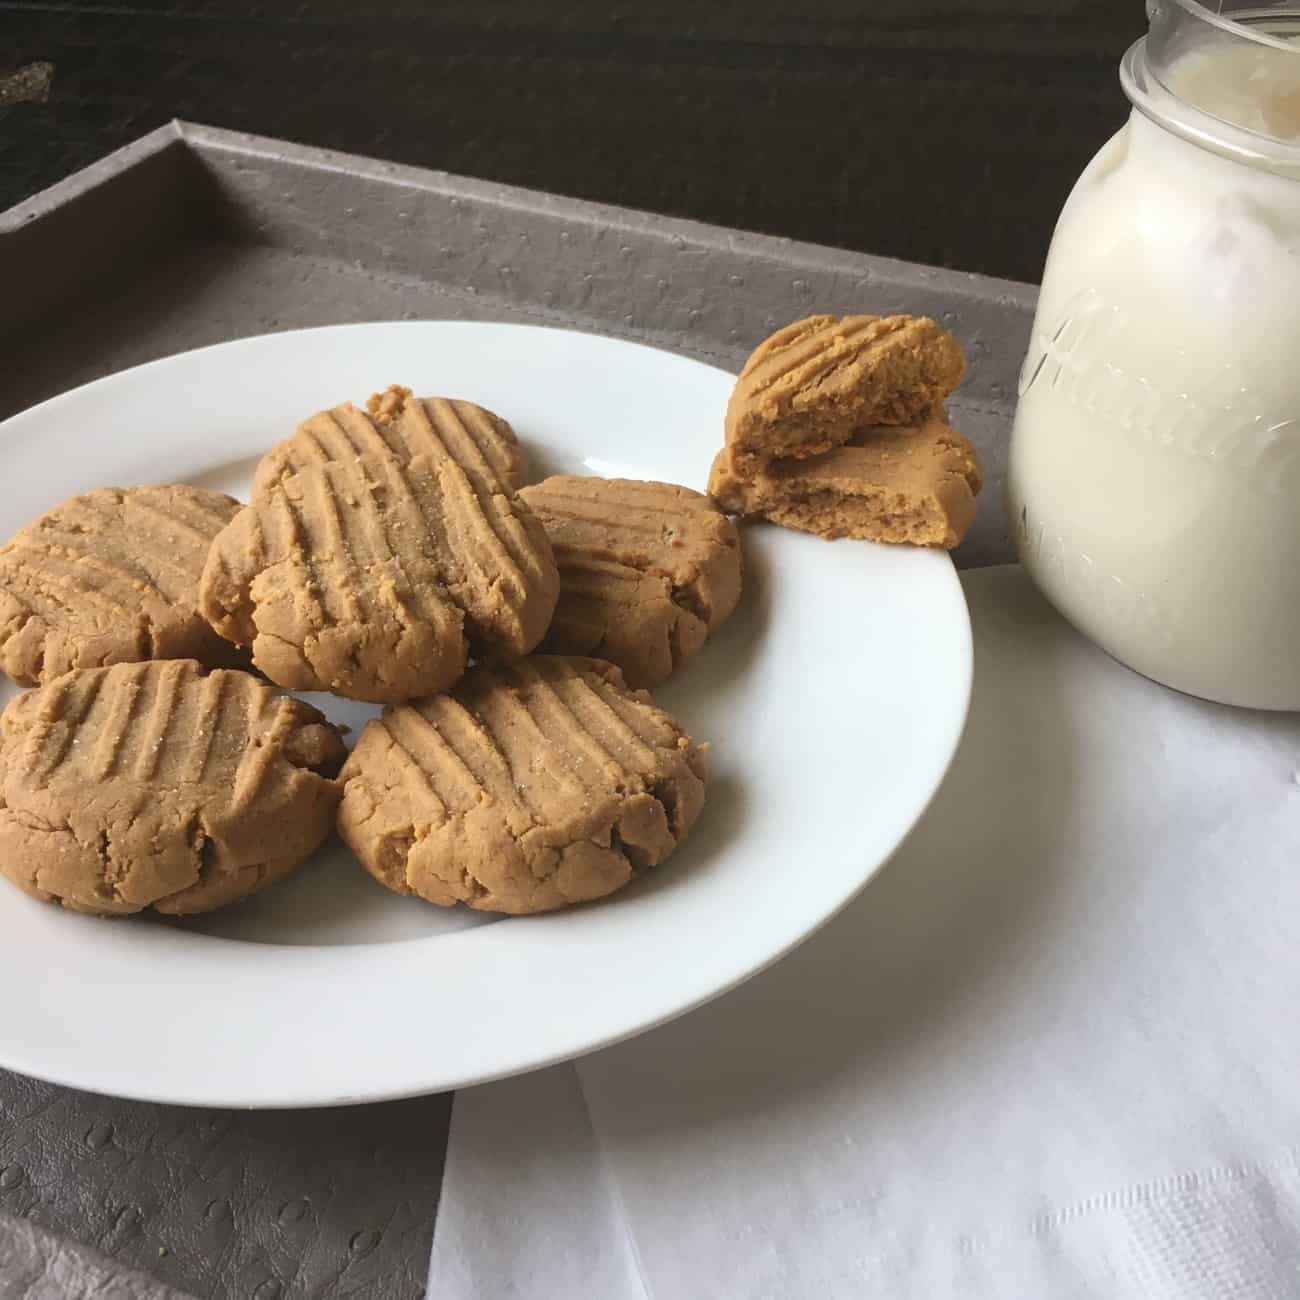
2 PB Cookies (Click here for PB cookie recipe)
15 g coconut butter
1 cup SF cashew milk
Top with coconut butter, & wash it down with cashew milk (try adding stevia/vanilla for a creamy sweet treat, so nice!)
Enjoy!
Optional: 10 g net carb from additional veggies of your choice

What If These Macros Aren’t Right For Me?
Obviously 1500 calories isn’t going to be right for everyone, but I think this is a good middle ground that is easy to adjust depending where you need to be.
If you’re eating LESS than this, your calories are probably going to be adjusted in terms of fat.
Take some oils out and voila, your fat macros will be lower.
If you’re eating MORE than this, you’re likely going to adjust both protein and fat up.
This is easy, increase your protein serving sizes and add some extra fat via things like bullet proof coffee, homemade dressings, nuts/seeds, etc.
This is a great starting place that can be easily adjusted to work for you!
If you’re not even sure WHERE to start with macros, first start by figuring out your calorie intake based on your goals (there are lots of online calcs for this), then figure out what ratio of protein/fats/carbs is right for you.
I generally recommend a break down of around 70-75% fat, 20% protein, and 5% carbs as a starting point for keto and adjust from there.
Remember to ensure you’re getting lots of water and balancing your electrolytes through added salt/minerals when adjusting to keto to avoid the “keto flu!

I hope you love these keto meals as much as I do.
Don’t forget to tag me in your recipes @kyfitnessandnutrition and let me know if you have questions!
[/et_bloom_locked]